Onboard a FortiGate
In this section we’ll onboard a FortiGate manually so that it checks into FortiManager. Onboarding a device to FortiManager can be done automatically using various methods (DHCP option, FortiZTP, FortiDeploy SKU), but we’ll do it manually for this lab.
Warning
Do not Authorize Branch1 during this process. We will do that later.
Onboard a FortiGate
- Login to Branch1 using admin/
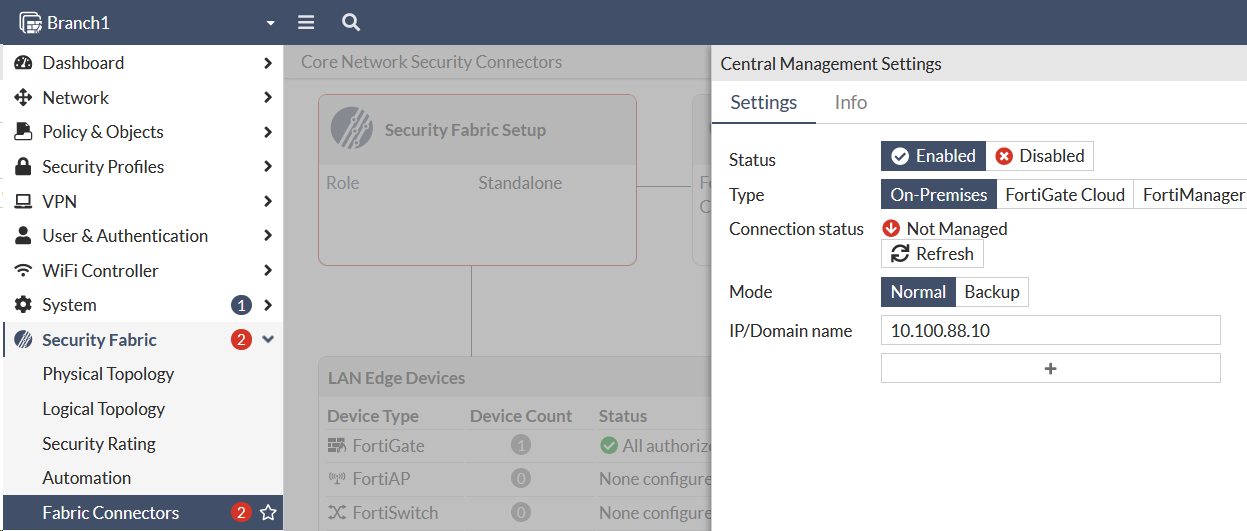
$3curityFabric - Navigate to Security Fabric > Fabric Connectors.
- Click Central Management
- Click Enabled
- Type
10.100.88.10in the IP Address field. - Click OK
- Click Accept so that the Fortigate trusts the Fortimanager Serial
- Click OK
- Click Close
Confirm FortiGate is unauthorized in FortiManager
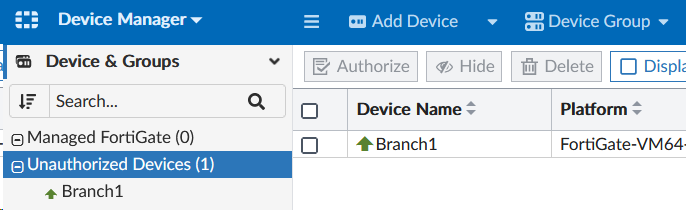
- Login to FortiManager using admin/
$3curityFabric - Navigate to Device Manager > Unauthorized Devices
- Confirm that the Branch1 FortiGate is listed
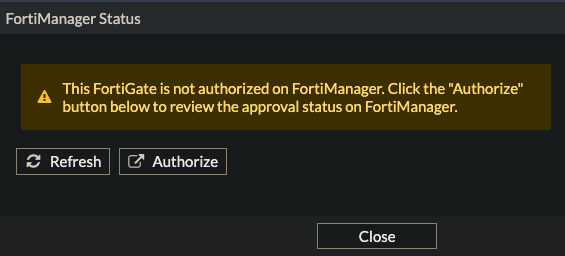
Warning
Do not Authorize Branch1 here. Our ZTP profile will do this for us.
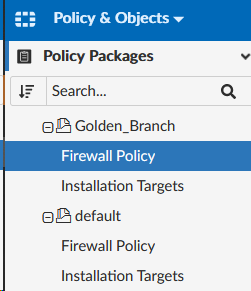
Create Policy Package
- Navigate to Policy & Objects > Policy Package
- Select Policy Package and click New
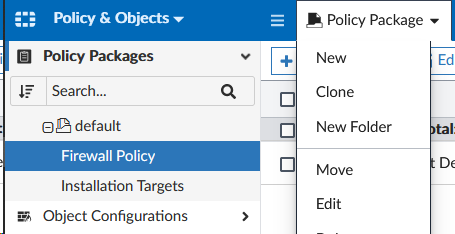
- Type in
Golden_Branchfor the Name and click OK at the bottom of the page.
Create Policy
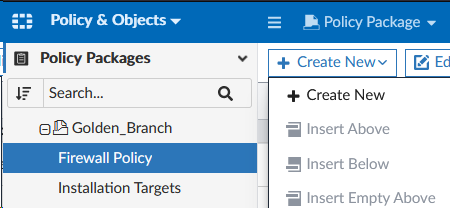
- Select Policy Packages > Golden_Branch > Firewall Policy
- Click Create New > Create New to create a new policy
- Set the following fields on the Create New Firewall Policy page (leave the rest as default):
- Name:
Allow port2 to Internet - Incoming Interface:
port2 - Outgoing Interface:
port1 - Source:
RFC1918-10 - Destination:
all - Service:
HTTPS - Action:
Accept - NAT:
Enable - Change Note:
Policy Creation
- Name:
- Click OK at the bottom of the page.
You now have your first policy!
