Create a ZTP profile
In this section we’ll create a ZTP profile that will be used to configure the FortiGate when it shows up in FortiManager.
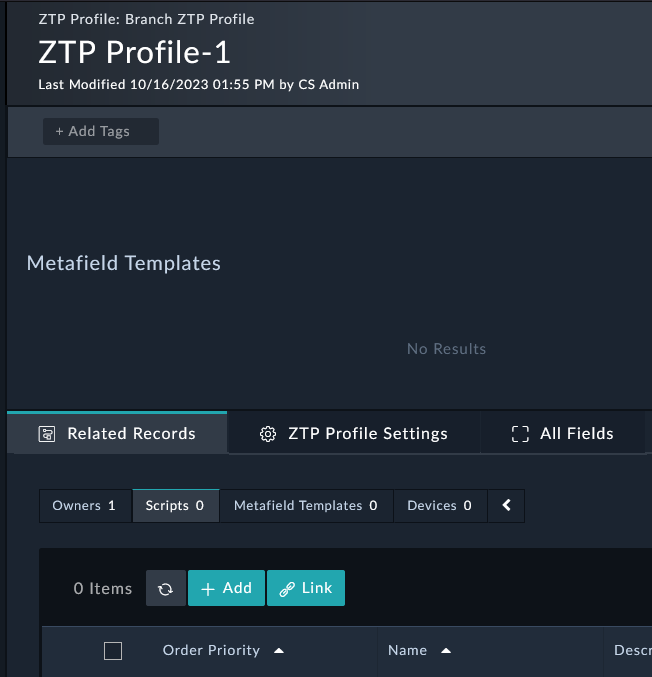
Create ZTP Profile
Navigate to FortiManager > ZTP Profiles and click the
 button to add a new record.
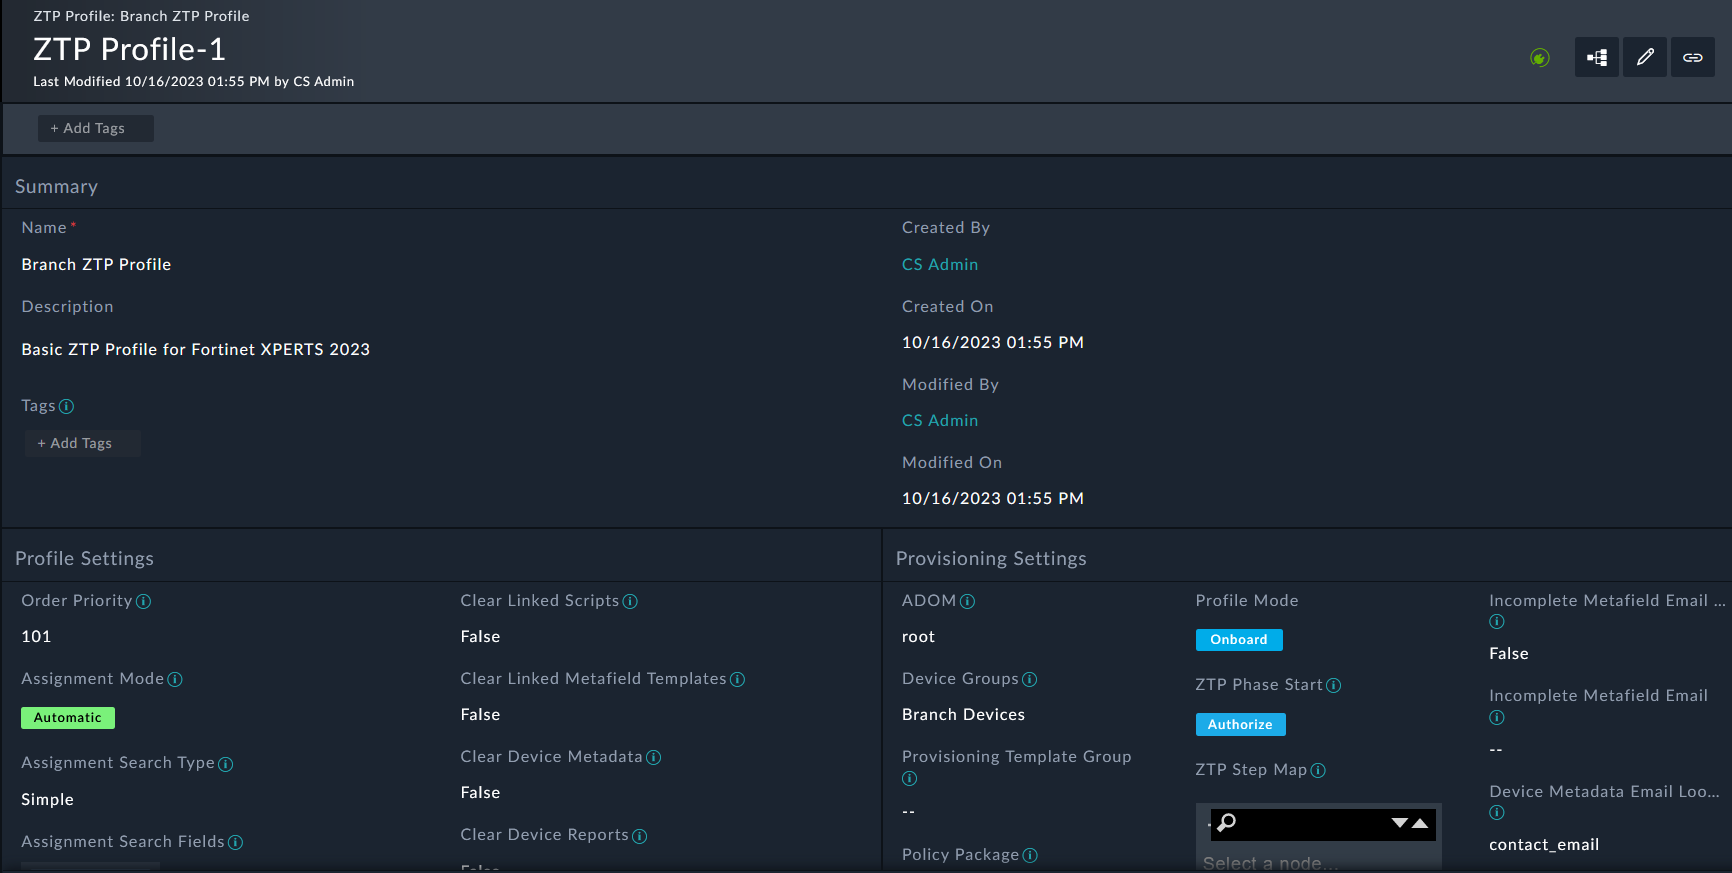
Set the following fields (leave the rest as default):
- Name:
Branch ZTP Profile - Description:
Basic ZTP Profile for SE Workshop - Assignment Mode:
Manual - Assignment Search Fields:
Device Name - Assignment Search:
Branch[1-2] - Adom:
root - Device Groups:
Branch_Devices - Policy Package:
Golden_Branch
Note
This ZTP profile is saying that it will be manually assigned to devices that have a name that matches the regex Branch[1-2] . It will move those matched devices to the root adom, add the devices to the device group Branch_Devices and install the policy package Golden_Branch to the device automatically.
Note
You will create a Policy Package with a policy later on. But if you didn’t, FortiSOAR would automatically create an empty Policy Package for you.
- Name:
Click Save.
Congrats! You made your first ZTP profile. But usually Zero touch configurations need more configuration than just a policy package and device group, so lets see what it takes to set that up.
Note
Keep in mind, we set the ZTP profile mode to Manual. We will change this later on.
Create Metafield Template Record
Scroll down to the Related Records tab, click the Metafield Templates sub-tab, and click the
button on the Metafield Template section add a new record.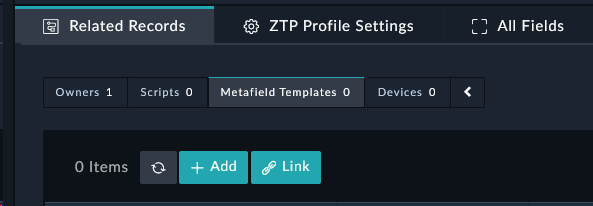
Set the following fields on the popup (leave the rest as default):
- Name:
Branch ZTP Variables - Description:
Metafields for SE Workshop - Metafield Template:
{ "contact_email": "socuser1@financial.local", "admin_user_name": "se_admin", "admin_timeout": "120", "loopback0_ip": "" }- Name:
Click Create.
You may need to click the refresh button underneath the metafield section if you don’t see the new template there. The refresh only affects visibility, not functionality of the template.
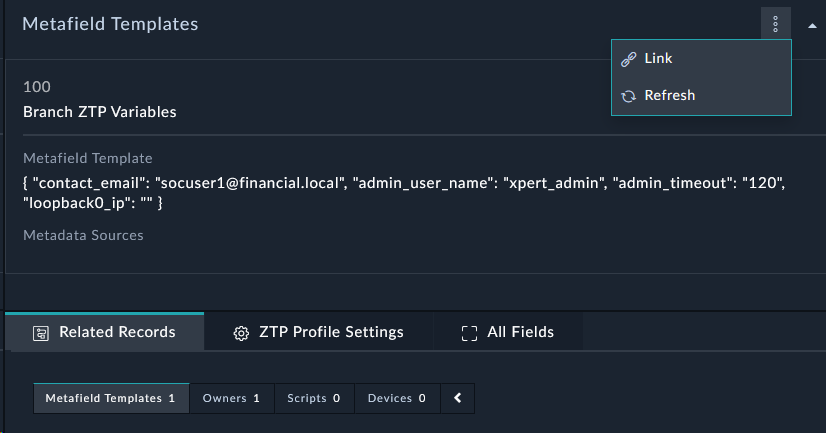
You will now see a new metafield template added and linked to the ZTP profile. This Metafield template will be used to populate the metafields for the Script Templates, or be used for overrides on the ZTP profile.
Note
The metafields are used to pass variables to the scripts. The metafields are referenced in the scripts using the following syntax: {{devmeta.metafield_name}}
Create Script Records
Create Script for Purging Config
Scroll down to the Related Records tab, click the Scripts sub-tab, and click the
button on the Scripts section add a new record.
Set the following fields on the popup (leave the rest as default):
Order Priority:
90Name:
Purge FortiGate configDescription:
This script will purge FortiGate config for SE WorkshopType:
Remote CLIScript:
config firewall policy
    purge
end
config system sdwan
    config service
        purge
    end
    config neighbor
        purge
    end
    config health-check
        purge
    end
    config members
        purge
    end
    config zone
        purge
    end
    set status disable
end
config vpn ipsec phase2-interface
    purge
end
config vpn ipsec phase1-interface
    purge
end
config firewall address
    purge
end
Click Create.
Note
The order priority is used to determine the order in which the scripts are executed. The lower the number, the higher the priority. The purge script needs to be executed before the other scripts, so we set the order priority to 90.
Create Script for an Admin Account
Scroll down to the Related Records tab, click the Scripts sub-tab, and click the
button on the Scripts section add a new record.
Set the following fields on the popup (leave the rest as default):
Name:
Configure Admin User and Loopback interfaceDescription:
This script will create an admin user on a FortiGate for SE WorkshopType:
Remote CLIScript:
config system global
    set admintimeout {{devmeta.admin_timeout}}
end
config system admin
    edit "{{devmeta.admin_user_name}}"
        set accprofile "super_admin"
        set vdom "root"
        set password fortinet4A!!
    next
end
config system interface
    edit "Loopback0"
        set vdom "root"
        set ip {{devmeta.loopback0_ip}} 255.255.255.255
        set allowaccess ping
        set type loopback
        set description "Loopback0 for SE Workshop"
    next
end
Click Create.
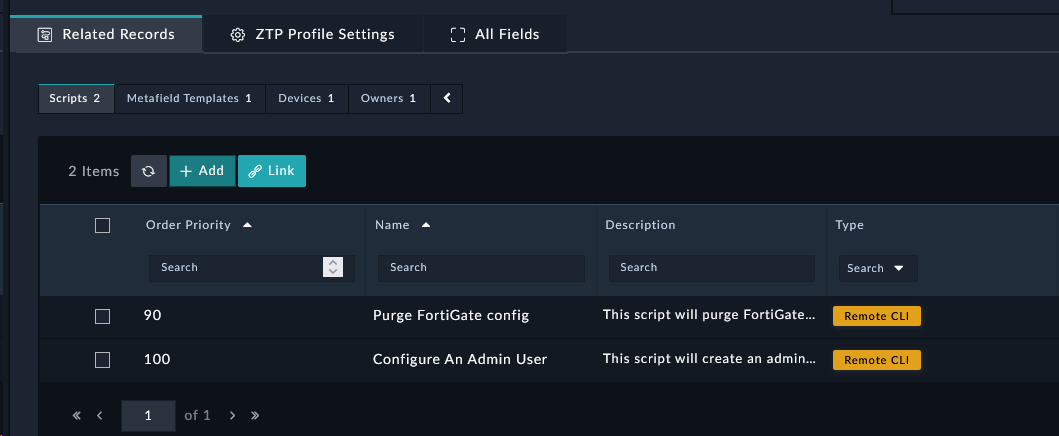
You will now see 2 scripts added and linked to the ZTP profile. This script will be executed on the FortiGate along with other scripts you create based on the order priority.